


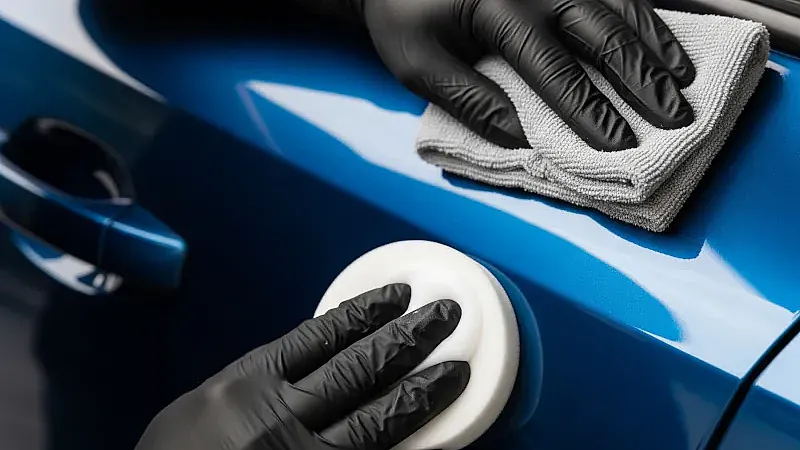
Wax Application and Buffing – How to Get the Best Results
After washing, decontamination and paint preparation with a paint cleaner, it is time for the most rewarding step in the entire car care process – waxing. A layer of car wax gives the paint deeper gloss, richer colour depth and a protective barrier against weather, road grime and organic contaminants such as tree sap and bird droppings.
This guide shows you how to apply and buff car wax step by step – from choosing the right base to proper technique by hand, and the difference between natural and synthetic waxes.
Why wax your car?
Wax serves three functions:
- Protection: The wax layer acts as a barrier between the clear coat and external threats – UV radiation, salt, road film, insects and bird droppings.
- Gloss and depth: Wax refracts light differently to bare clear coat, producing a wetter, deeper gloss – especially on dark paint colours.
- Easier maintenance: A waxed surface repels dirt and is easier to wash. Dirt and water sheet off more quickly, reducing the risk of water marks and mineral deposits.
Preparation: the right base for the right wax
The base determines how well the wax bonds and how long it lasts:
- Natural carnauba wax: Best applied to a surface treated with a paint cleaner (preferably from the same brand as the wax). The cleaner leaves a surface that carnauba wax bonds to effectively.
- Synthetic wax / sealant: Requires a fully degreased surface. Use IPA (isopropyl alcohol) diluted 1:1 with water or a dedicated degreaser (panel wipe) after the cleaner.
Essential products
- Car wax (natural or synthetic)
- Soft foam applicator
- Microfibre cloth (high GSM, edgeless) – at least 2
Step 1: Apply the wax
How to do it:
- Make sure the car is in the shade and that the paint is cool. Never apply wax in direct sunlight or on hot panels.
- Press the applicator pad lightly against the wax so that a thin layer transfers to the pad.
- Work in even, circular motions and spread the wax in a thin, uniform layer.
- Work 3–4 panels at a time (for example the bonnet and front wings, or one side of the car). Do not wax the entire car at once – the wax may cure too hard and become difficult to buff off.
- Always use a small amount of wax. Several thin layers produce a better result than one thick layer.
Step 2: Allow the wax to cure
After application the wax needs time to bond to the paint surface:
- Allow the wax to dry for 10–15 minutes (follow the manufacturer's instructions).
- The wax is ready to buff when it forms a matte, slightly hazy film on the surface.
- Test with a finger – run it lightly across the wax. If it smears, it needs more time. If it comes away cleanly as a fine powder, it is ready.
Step 3: Buff the wax
How to do it:
- Use a clean microfibre cloth with high GSM (300+) and no edging.
- Buff the panel with light, circular motions until all haze is gone and the paint shines.
- Turn the cloth regularly so that you are always working with a clean side.
- Switch to a second, clean microfibre cloth for the final finishing buff.
- Check the result in good lighting – look for any remaining haze or uneven patches.
Tips for the best results
- Plastic trim and rubber: Avoid getting wax on unpainted plastic trim, rubber seals and textured surfaces – wax leaves white residue that is difficult to remove. Mask off sensitive areas with tape or wipe away wax immediately if it lands in the wrong place.
- Multiple layers: For maximum protection you can apply a second layer after the first has been fully buffed. Wait at least 30 minutes between layers.
- Regularity: Natural carnauba wax typically lasts 4–8 weeks depending on weather conditions. Plan waxing every other month in the Nordic climate to maintain protection.
Suitable for: Car enthusiasts, professional detailers, reconditioning technicians, car dealers and anyone wanting to protect the paint and achieve a deeper gloss.
Industries: Vehicle care, car reconditioning, detailing studios, car dealerships and fleet management.
Frequently Asked Questions About Car Wax Application (FAQ)
What is the difference between natural carnauba wax and synthetic sealant?
Natural carnauba wax is derived from palm leaves and produces a warm, deep gloss with rich colour depth. It typically lasts 4–8 weeks. Synthetic sealant is chemically engineered and produces a mirror-like, clinical shine that lasts longer – often 3–6 months. Sealant requires a degreased surface (IPA or panel wipe) whilst carnauba wax is best applied on a paint cleaner base. Many detailers combine sealant as a base layer and carnauba wax as a topper for both durability and depth of gloss.
How do you know when the wax has cured and is ready to buff?
Wax typically needs 10–15 minutes depending on temperature and humidity. It is ready when it forms a matte, hazy film. Test by running a finger lightly across the surface – if the wax comes away cleanly as a fine powder without smearing, it is ready to buff. If it still feels tacky or smears, wait a few more minutes.
How often should you wax your car in a Nordic climate?
In Scandinavia and the Nordics, waxing every 6–8 weeks with natural carnauba wax is recommended due to road salt, moisture and temperature fluctuations. Synthetic sealant lasts longer, typically 3–6 months. During winter a quick application of quick detailer or spray wax between waxing sessions can extend the protection.
Leave a comment