


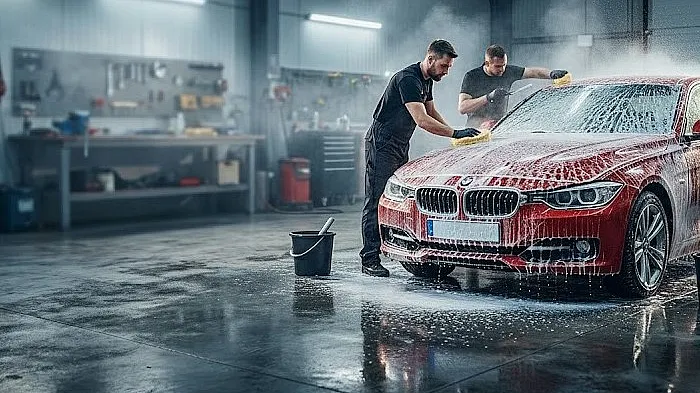
Complete Guide to Car Washing – How to Wash Without Scratching
Proper washing technique is the key to keeping your paintwork in top condition. Most scratches and swirl marks are actually caused by incorrect washing. This guide gives you clear step-by-step instructions that make your car wash both safer and more effective – based on methods used by professional detailers.
What do you need to wash your car properly?
Before you start, it is important to have the right equipment. Here is what you need for each step:
For the wheel arches
- APC (all-purpose cleaner)
- Long-handled brush
- Tar and glue remover
- Iron fallout remover (deironizer)
For the wheels and tyres
- Wheel cleaner
- Tyre cleaner or APC
- Brushes for wheels and tyres
For the pre-wash
- Snow foam (active foam)
- Pressure washer
- Foam lance or hand pump sprayer
- Garden hose with nozzle for rinsing
For the contact wash
Step 1: Clean the wheel arches
Always start by rinsing the wheel arches thoroughly with the pressure washer. Then apply APC and agitate with a long-handled brush to remove stubborn dirt from the wheel arch surfaces. Rinse thoroughly with the pressure washer again. If needed, repeat the process.
Found tar or asphalt residue on the wheel arches? Use a tar remover (remember that the surface must be dry). You can also use an iron fallout remover (deironizer) for metal particles that have accumulated on the wheel arch and suspension during driving.
Step 2: Clean the wheels
Clean the tyres first
Start by cleaning the tyres thoroughly. You can use APC at the correct dilution or a dedicated tyre and rubber cleaner.
Spray the product on and allow it to dwell so the dirt breaks down. Then scrub the tyre thoroughly with a brush. For the best results before applying tyre dressing, repeat the entire process once more.
Time to clean the wheels
Choose the right product depending on how dirty the wheels are:
- Heavily soiled wheels: Use an acid-based wheel cleaner to speed up the process. Be careful and follow the manufacturer's instructions closely.
- Brake dust: Use an iron fallout remover (deironizer) – products that dissolve metal particles from brake pads.
- Black spots (tar): You need a tar and glue remover.
- Regular maintenance: Use a standard wheel cleaner for routine care.
Pro tip: To make sure you have cleaned the entire wheel face, roll the car half a wheel turn and clean again with brush and cleaner, especially where the wheel was in contact with the brake calliper.
Step 3: Pre-wash with snow foam
The purpose of snow foam (active foam) is to remove as much dirt as possible without touching the paint – completely safe for the vehicle's surface.
How to do it:
- Apply the snow foam from the bottom up.
- Wait approximately 5–8 minutes until the foam begins to run off the paint.
- Rinse with the pressure washer from top to bottom, working systematically downwards.
- By rinsing from top to bottom you avoid washing away the foam from lower panels without pressure.
No pressure washer? Get a hand pump sprayer and rinse with a garden hose fitted with a good nozzle.
Step 4: Contact wash using the two-bucket method
Now we remove the dirt that remains after the pre-wash. Here we use a wash mitt, car shampoo and two buckets with grit guards.
Why two buckets and grit guards?
With two buckets you have clean water in one and shampoo solution in the other. The grit guard has one fundamental job – it prevents dirt from floating freely in the bucket. Dirt sinks to the bottom and thanks to the guard's grid design it cannot be stirred back up by water movement. We recommend using a grit guard in both buckets.
How to wash the car
- Wash the car in the shade.
- Start from the roof and work systematically downwards.
- Save bumpers, door sills and lower edges for last.
- Dip the mitt into the shampoo bucket.
- Wash with straight, overlapping strokes (never circular motions).
- After each section, rinse the mitt thoroughly in the clean water bucket.
- Squeeze the mitt well and dip it back into the shampoo.
- Repeat until the entire car is washed.
Step 5: Dry the car
After a thorough wash it is time to dry the car. For drying we recommend microfibre towels, waffle-weave towels or a Silk Dryer.
Correct drying method:
- Start with horizontal surfaces and windows.
- Then move on to vertical panels.
- Finish by drying door jambs thoroughly.
Correct drying means laying the towel on the surface and gently patting it. You can also lay the towel flat and carefully pull it across the surface to be dried.
Pro tip: You can use compressed air to blow water out of all gaps and crevices.
Step 6: Apply Quick Detailer
To remove fresh water spots from hard water, add extra gloss and reinforce any existing wax layer, use a Quick Detailer.
How to use it:
- Make sure the paint is cool and dry.
- Spray the product evenly across the panel.
- Spread it thoroughly over the surface.
- Buff with a clean microfibre cloth until the product disappears.
Summary – the key to safe car washing
Washing your car correctly is not about having the most expensive equipment – it is about using the right technique. By following these steps you protect the paintwork from damage and keep the car looking fresh longer:
- Always use the two-bucket method with grit guards.
- Wash with straight, overlapping strokes – never circular.
- Dry gently without pressing the towel into the paint.
- Always pre-wash with snow foam before the contact wash.
- Work from top to bottom in every step.
With the right products and these methods you will keep the paintwork scratch-free and the car looking fresh after every wash.
Suitable for: Car owners, car enthusiasts, professional detailers, reconditioning technicians, paint protection specialists and car dealers.
Industries: Vehicle care, car reconditioning, detailing studios, car dealerships, transport and fleet management.
Frequently Asked Questions About Car Washing and the Two-Bucket Method (FAQ)
Why are grit guards needed in the two-bucket method?
Grit guards sit at the bottom of each bucket and trap sand, grit and dirt particles below the grid. When you rinse the wash mitt in the rinse bucket, particles sink through the grid and cannot be stirred back up. Without grit guards the dirt circulates freely in the water and is transferred back to the wash mitt, causing wash-induced scratches and swirl marks on the paintwork.
Should you use an iron fallout remover (deironizer) at every car wash?
No, iron fallout remover does not need to be used at every wash. Use it as needed – typically every 4–6 washes or when the paint feels rough despite being clean. Deironizer dissolves embedded metal particles from brake dust and iron oxides that are not removed by regular washing. The product should be applied after washing but before polishing or waxing.
Can you use snow foam without a pressure washer?
Yes, you can use a hand pump sprayer (foam sprayer) that froths the product and distributes it across the car. The result will not be as thick a foam as with a foam lance on a pressure washer, but it works well for a pre-wash. Rinse with a garden hose fitted with a good nozzle. Hand pump sprayers come in 1–2 litre sizes and require no compressor or electricity.
Leave a comment